Railway
Guide to deploy LogChimp on Railway
There are many ways to install LogChimp. With Railway, you can get started with just a few easy steps. Click the button1, and hit deploy. It's that simple.
Warning
You will need to set-up SMTP configuration to let your users get emails to reset password, account verification, notifications and more.
![]()
All the environment variables are pre-configured for you. You can learn more about them here.
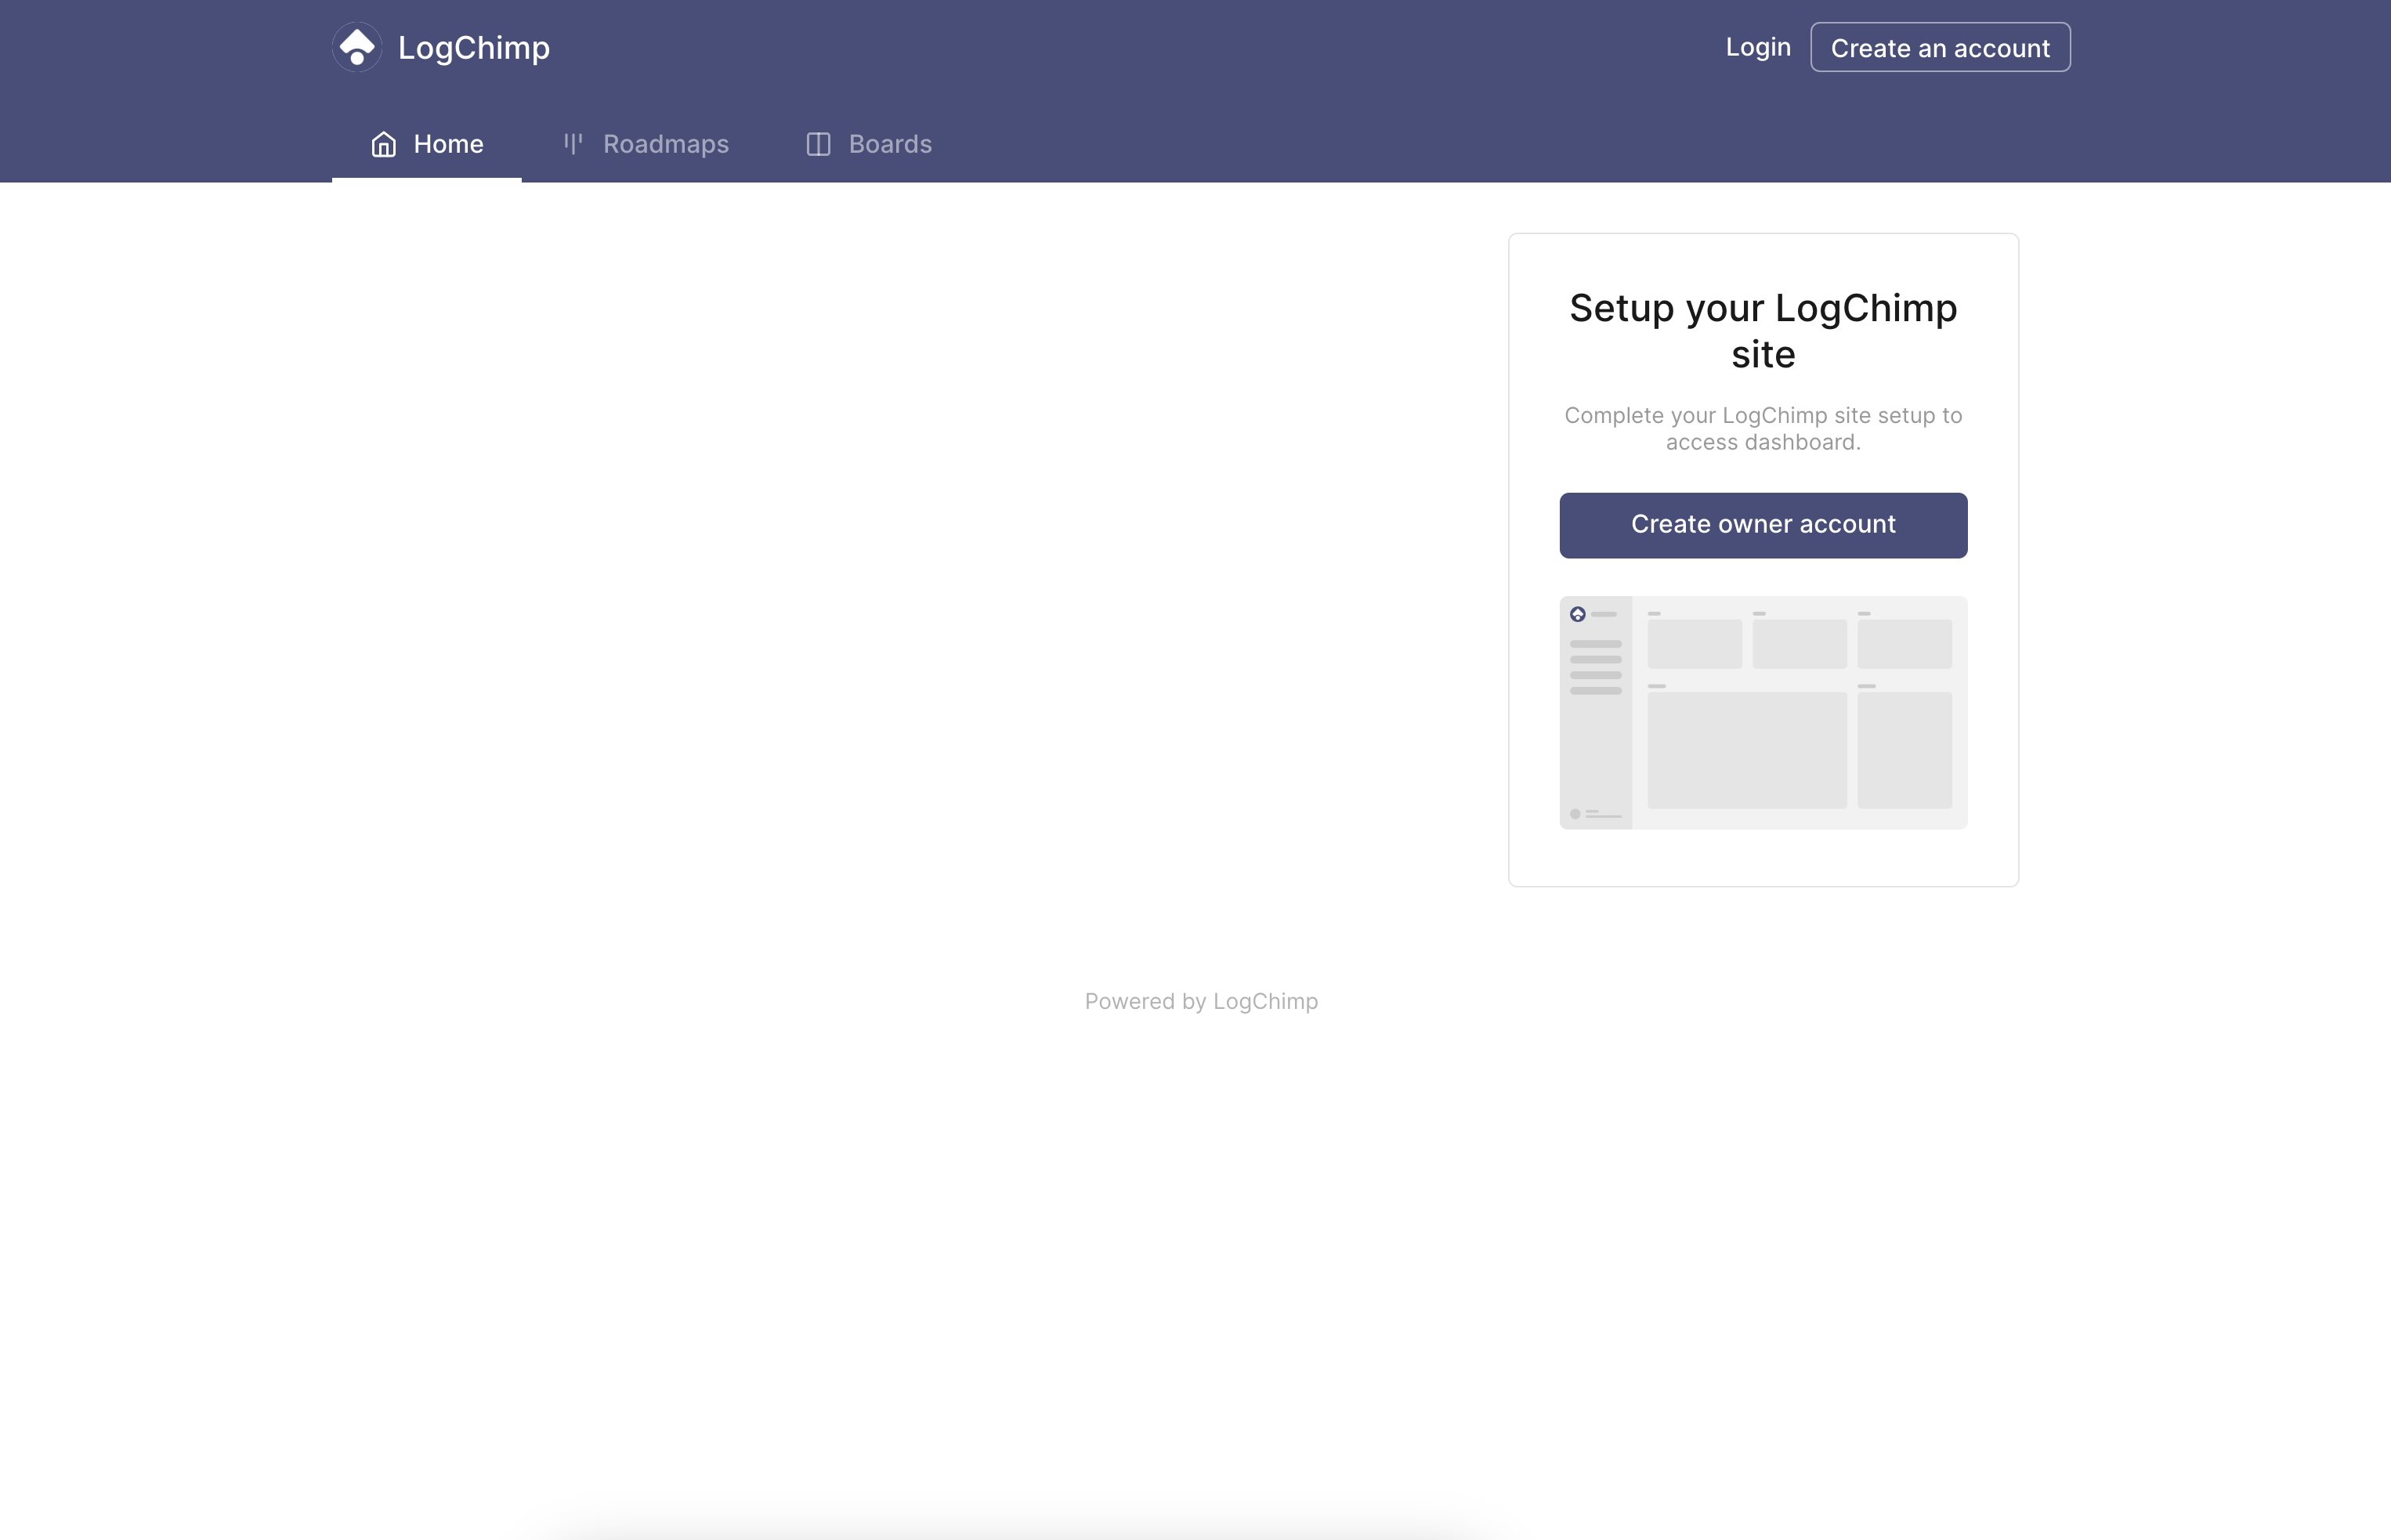
And there you go... 🚄, you should be able to access LogChimp at http://localhost:3000.
Your LogChimp site is ready to accept your customers' feedback with ease. 🎉
Next steps
The next step is to learn how to use LogChimp.
Behind the scenes
This template will auto-provision the following services for you:
- PostgreSQL database
- LogChimp API service
- LogChimp Theme service
You can always customize the secret keys and other environment variables.
Railway provides an easy way to generate a 32-character secret key by pressing Command + K (on MacOS) or Ctrl + K (on Windows). Of course, you can provide your own secret key as well.

Footnotes
-
The above link contains a referral code which gives referral credits to @mittalyashu. ↩